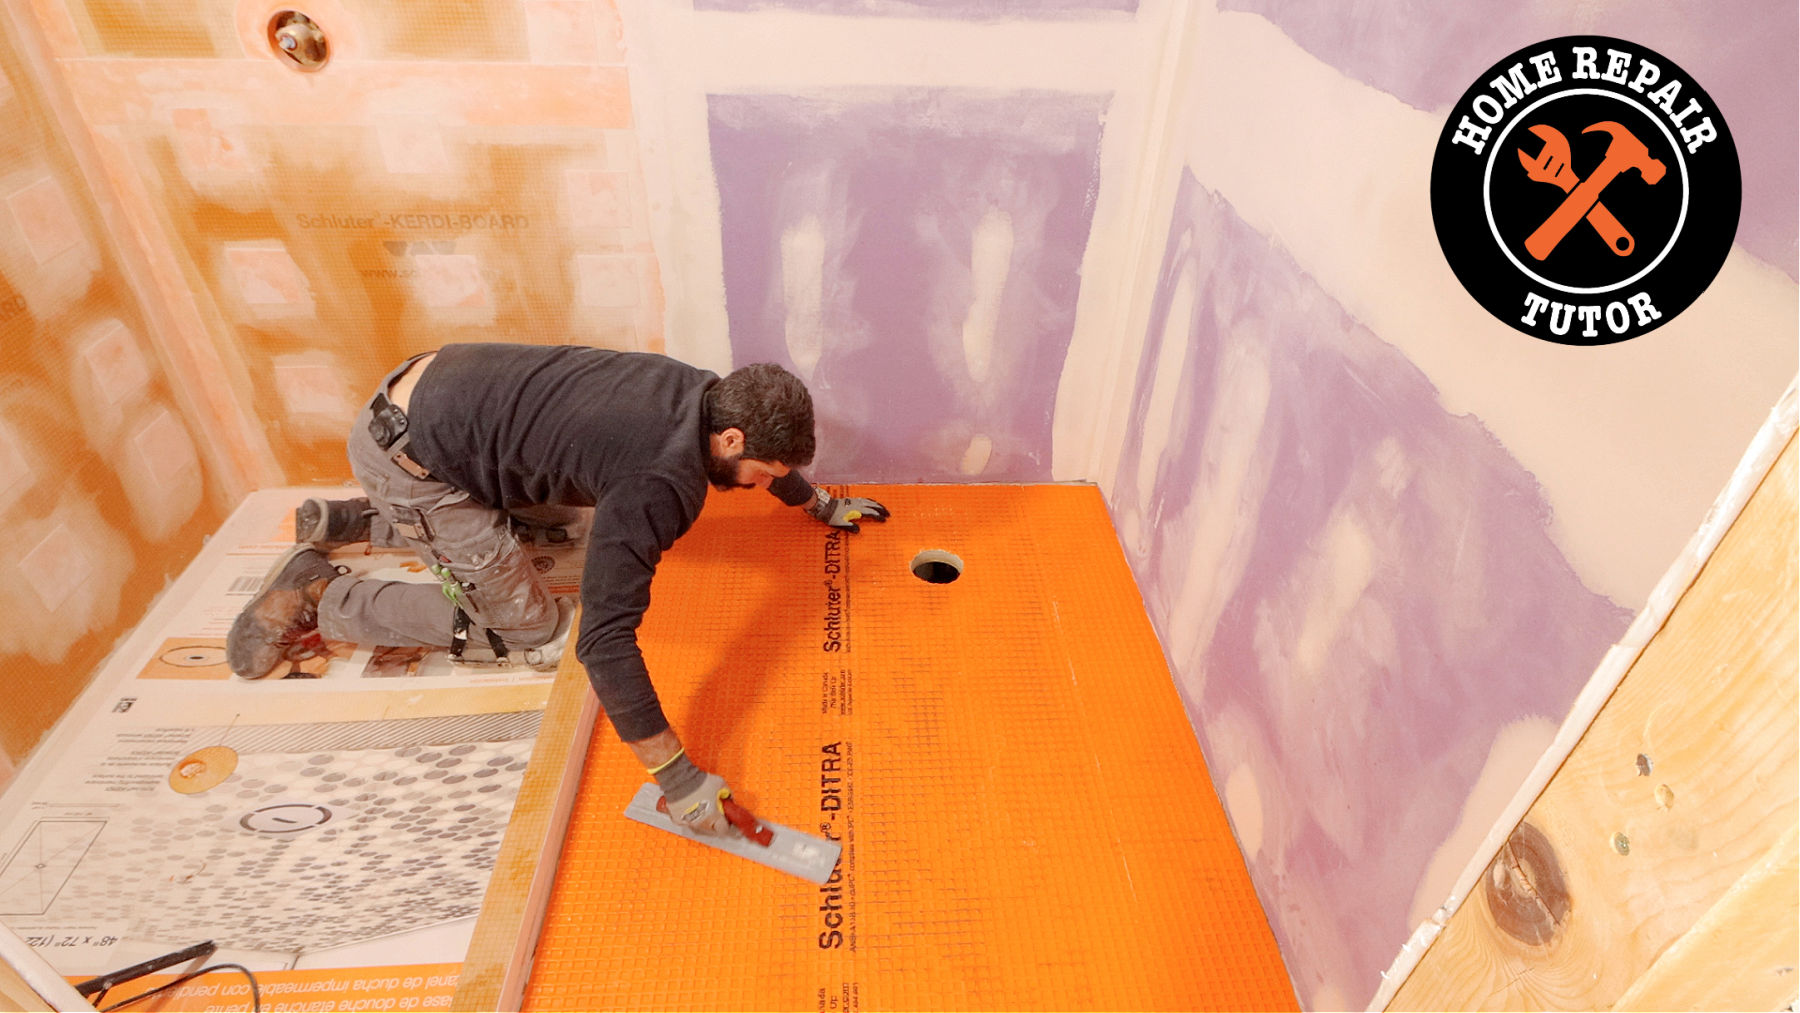

In this tutorial, you’ll see Schluter DITRA installation mistakes, specifically 10 I see DIYers make all the time.
It would be best if you didn’t fall into that category, so I’m making this tutorial.
You can avoid these mistakes and have a great tile installation that lasts for decades.
I get a lot of questions about framing and Schluter DITRA requirements.
And I’ll talk about those questions in a moment.
But the first mistake folks make is not choosing their floor tile as soon as possible. For example, tile size should be known before Schluter DITRA installation starts.
If your tile is smaller than a 2-inch x 2-inch square or a 2-inch x 2-inch hexagon you shouldn’t install it over top of DITRA.
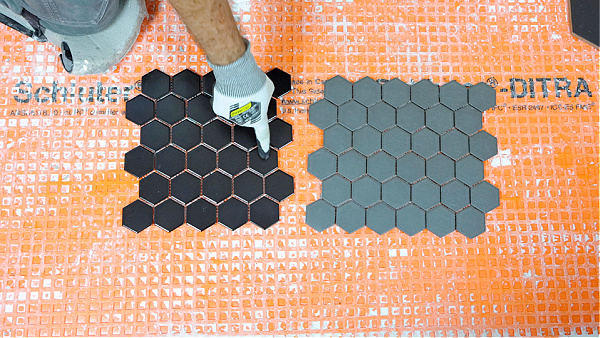
For example, you can do one thing if you want to install a penny tile. And that is put KERDI membrane over top of the DITRA so that the penny tile doesn’t run the risk of cracking or breaking due to the small cutback cavities.
Here’s the bottom line,
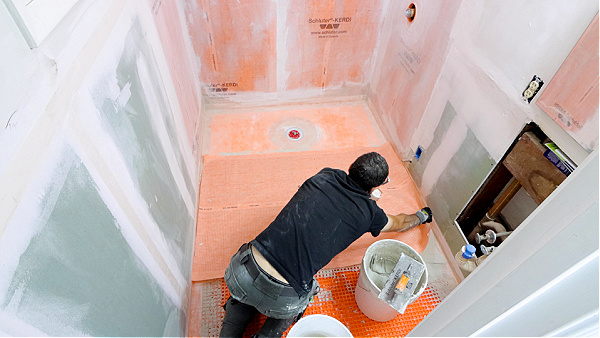
Always choose your tile before you start your DITRA installation. I recommend the same thing for tile shower floors.
In addition, I frequently get this question: Can you tile immediately after installing DITRA?
Yes, tile can be installed the same day as DITRA installation. However, if you have depressions in the plywood subfloor, they will cause problems with mosaic tiles. Especially hexagon mosaics that require the floor to be level.
With that said, the next biggest problem with DITRA is framing.
If tile selection is your first step, then framing inspection is the second step.
Schluter’s DITRA Handbook has specific framing recommendations based on the tile floor.
I highly recommend that you read the Handbook after selecting your tile.
The second mistake DIYers made is not determining the floor joist span.
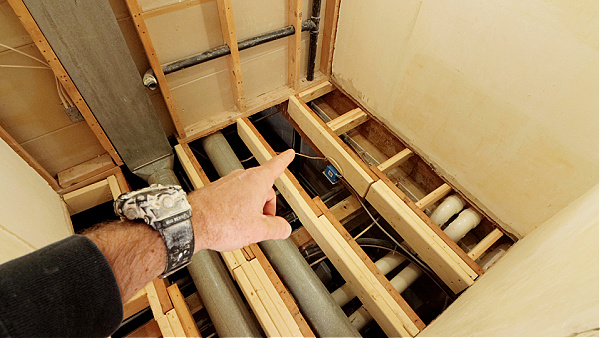
The floor joist span is what prevents bouncing of the subfloor and therefore bouncing of the tile floor. And that prevents the cracking of the tile floor.
You can figure out the joist span by looking at the nail or screw pattern that’s on top of the subfloor.
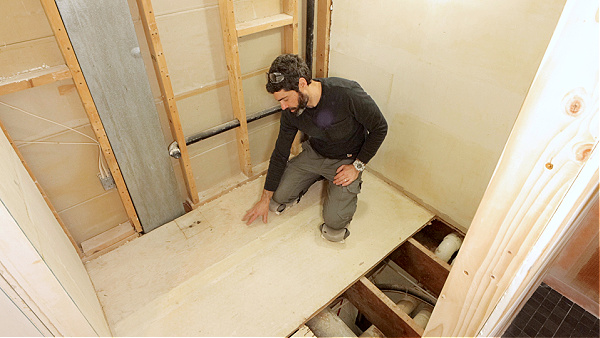
I always find the floor joist span before installing DITRA.
This brings me to the third mistake,
I see a lot of DIYers not inspecting the floor joist.
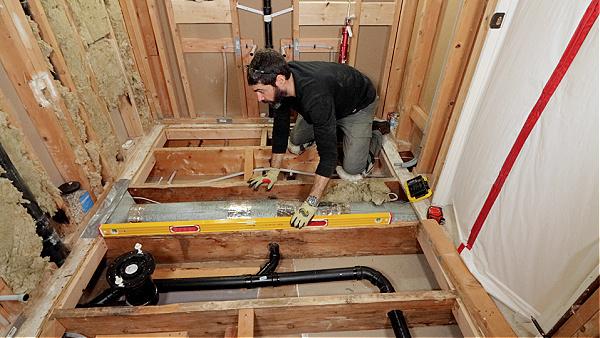
If you have sloped floor joists they should be rectified or fixed before you move on. And you can do that by sistering new 2x6s or 2x8s or 2x10s to the floor joist.
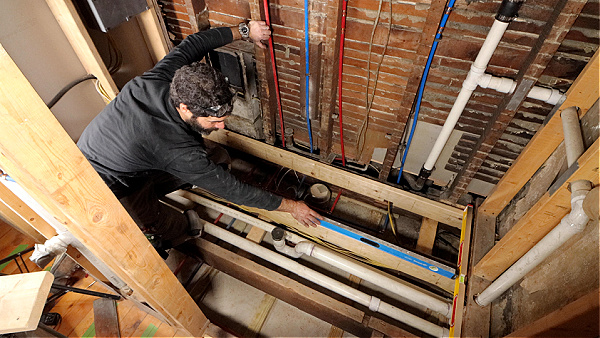
Normally I recommend consulting a structural engineer before you do this because the load of every home is completely unique and different.
In addition, you should look for any big holes or notches in the floor joist and fix those as well before you move on.
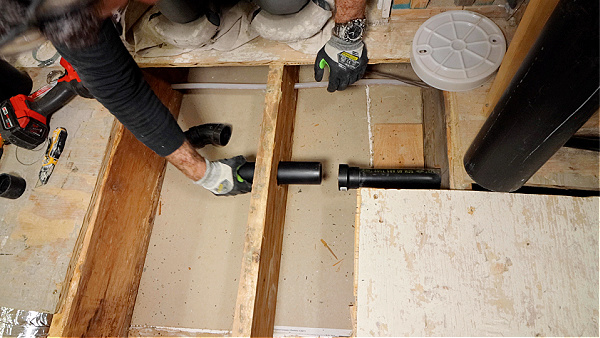
The fourth mistake DIYers make is not determining their subfloor thickness.
Here’s a common question,
How thick should subfloor be for DITRA?
The smallest subfloor thickness that Schluter recommends for DITRA is 5/8 of an inch for 16-inch on-center floor joists. However, that subfloor thickness increases for floor joists with on-center spacing of 19.2 inches and 24 inches.
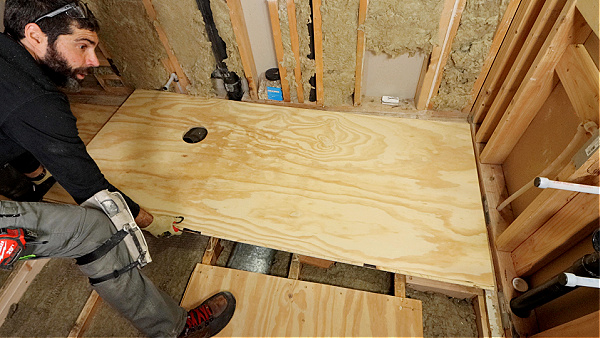
I like using 3/4 in plywood subfloor tongue and groove if possible because that way you’ll reduce the bounce I talked about. And you’ll have a sturdy subfloor for the DITRA installation.
On that note, when I install my 3/4 in plywood subfloor I use the right screw pattern. Normally I use 2-inch screws, that way one inch of the screw goes through the plywood and into the floor joist.
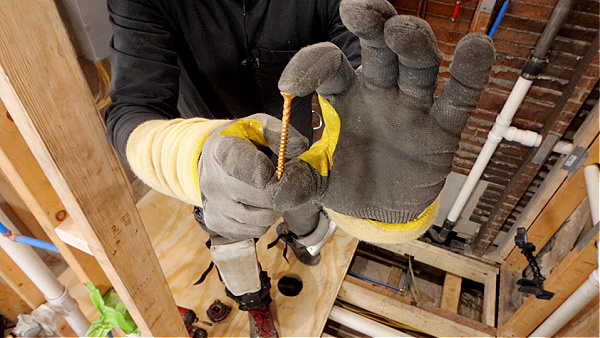
And I space those screws every 4 to 6 inches along the perimeter of the room and 6 to 12 inches in the field.
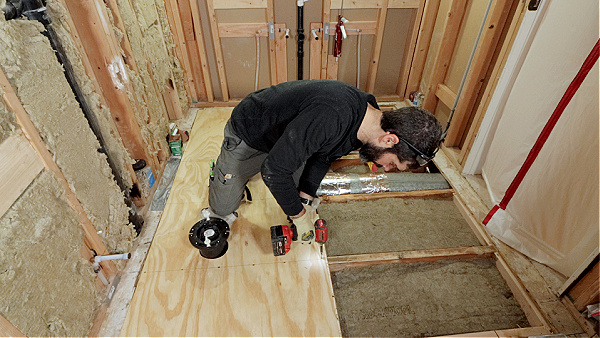
So the proper subfloor thickness as well as the proper installation of the subfloor with screws or nails is critical.
The fifth mistake DIYers make is not fixing subfloor problems.
For example, if there’s a dip or a depression in the subfloor I highly recommend using something like Feather Finish to fill that in and ensure the plywood is flat.
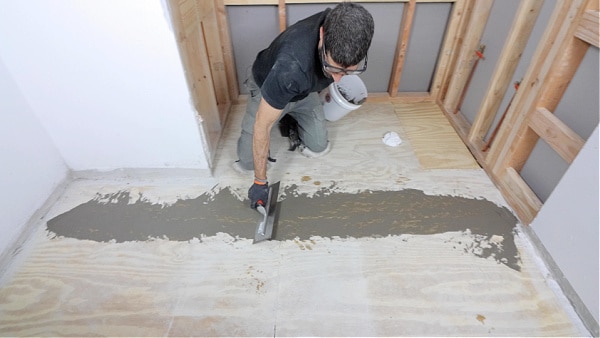
Otherwise, as I mentioned earlier, if you are using a mosaic that mosaic sheet will conform to that depression and you’ll see a dip in the tile floor.
Using something like Feather Finish really helps with this problem.
The second thing is if you have a lot of thin-set mortar on your plywood subfloor I would grind that off. I use this Ridgid cup wheel to do that.
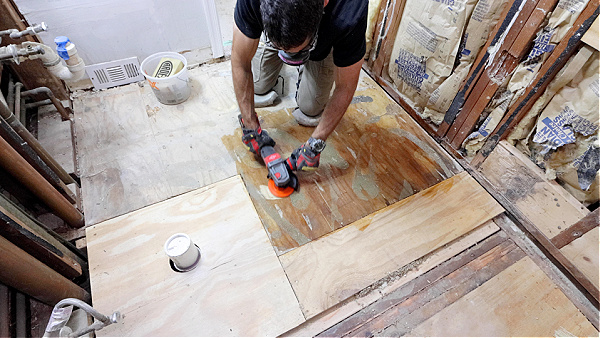
Obviously, I wear a silica dust respirator and ensure that the room is ventilated properly. But you want to get that old thin set off of the floor so that you can then properly prep it for the DITRA.
Ultimately if your subfloor is sloped a lot you can self-level it if the floor joists are in good shape.
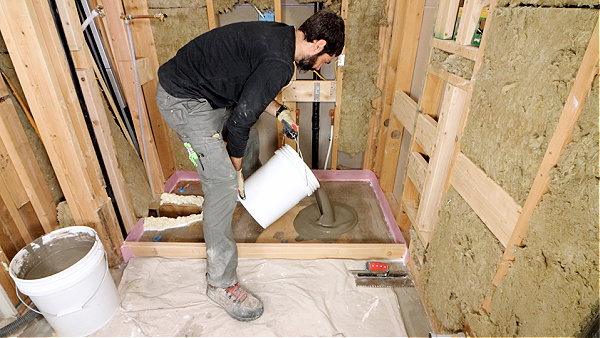
This does require some prep and I do have a nice full tutorial on how to do that.
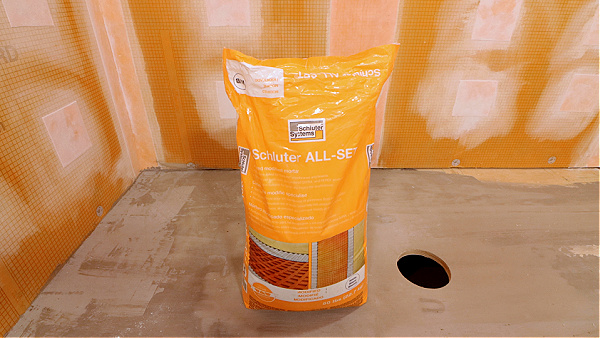
The sixth mistake is not choosing the correct thin-set mortar. To simplify this I recommend using Schluter ALL-SET. You can use ALL-SET for both bonding the DITRA to your substrate as well as tiling over top of the DITRA.
 Schluter ALL SET" width="600" height="338" />
It really simplifies your installation. Also there are specific mixing instructions for Schluter ALL-SET when it’s used for Schluter DITRA installation, and I really like that a lot.
And that does bring me into the seventh mistake which is not mixing the thin set to the correct consistency.
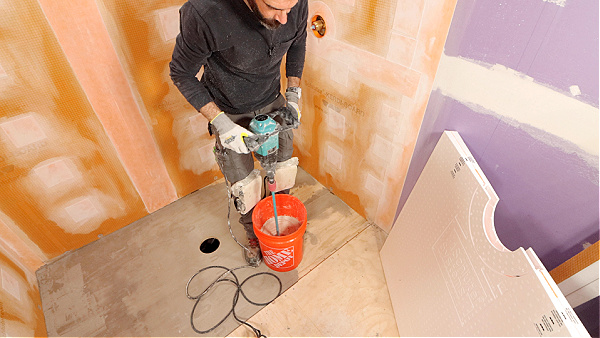
Always read the directions on the back of the bag. Schluter has specific water ratios for the DITRA, these change from time to time.
But the big tip I have for you here is to use cold clean water because the colder the water and the cleaner it is the longer working time you’ll have with the Schluter DITRA.
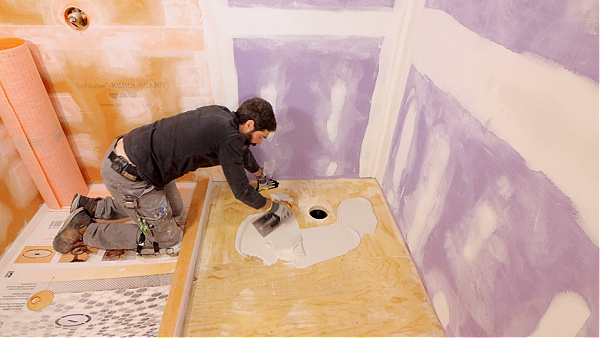
So I never use warm water because that will reduce the working time of the thin-set mortar. And that’s not just for ALL-SET, that’s for other thin-set mortars as well.
The eighth mistake that I see a lot of people make is not prepping the substrate. For example, if you have any adhesive residue on the plywood you want to prime that. I use Schluter Primer U for this.
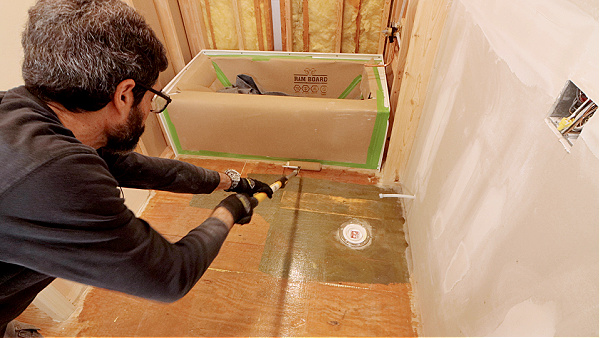
You can prime it and then within an hour or two, you can immediately set your Schluter DITRA. If you’re worried about any residue on the plywood I highly recommend priming it.
The other mistake in this category is people don’t dampen the plywood or concrete. You always want to dampen the substrate so that when you apply your thin set the thin set moisture isn’t absorbed by the plywood or the concrete.
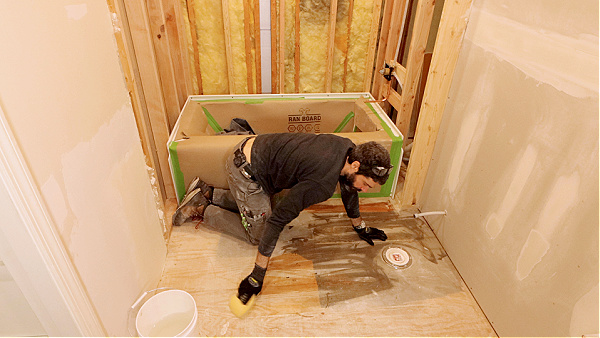
Therefore, I always use a sponge to dampen the substrate before I apply my thin-set mortar.
The next mistake is not choosing and using the correct trowel size for DITRA. You want to use the DITRA trowel – it’s pretty straightforward.
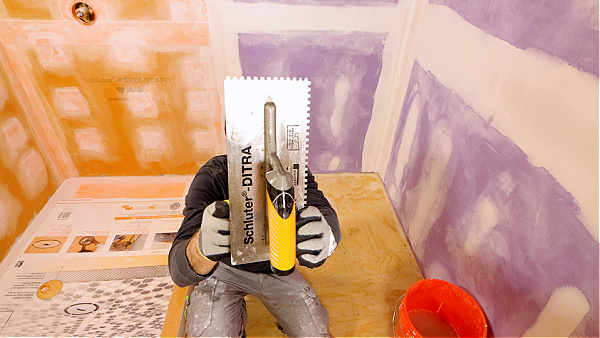
I key the thin set first into the plywood or the substrate using the flat side of the trowel.
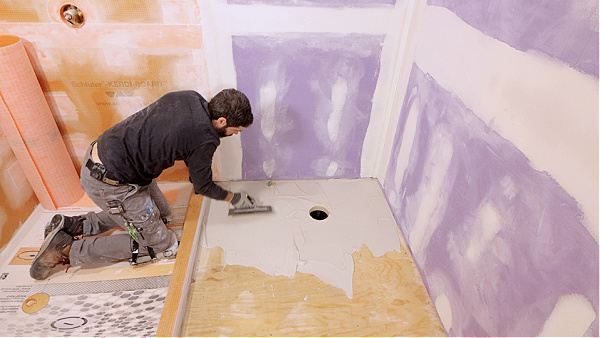
The reason why I do this is that it gives you a nice layer of thin set mortar and improves the bond strength of the entire system.
The other mistake in this category is that many people don’t hold the trowel at a 45° angle.
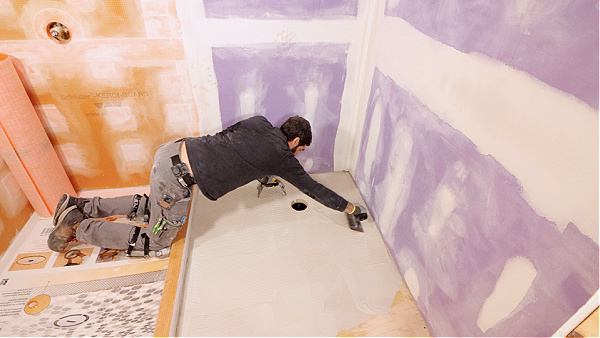
By holding the trowel at a 45° angle I maximize the size of the notch and by maximizing the size of the notch I’m going to get a good bond between the DITRA and the substrate.
I also apply the thin set such that my trowel notches are parallel to each other. This allows the thin set to collapse properly, the air to escape, and a full bond between the DITRA and the floor.
The 10th mistake is not embedding the DITRA correctly. For example, I try to unroll the DITRA over top of the space where it’s going to go.
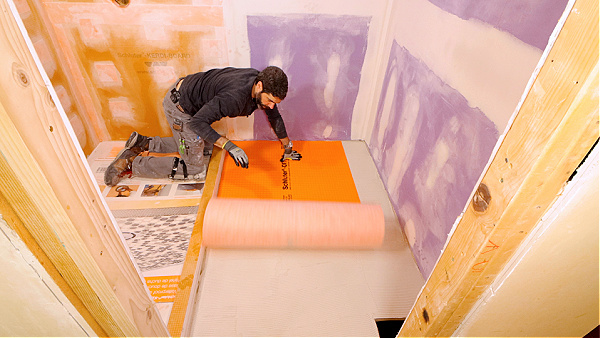
I don’t move it laterally I unroll it over top of the thin set mortar and then compress it in two different directions using a float.
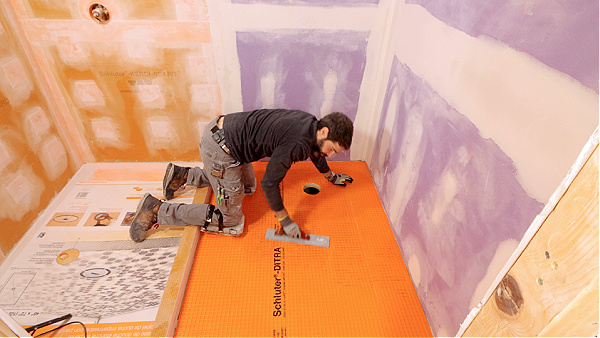
This is where you can go wrong with the installation. I first compress the DITRA in one direction then I go in the opposite direction using that same float.
And that compresses the thin set so that when I pull one corner of the DITRA up and I check the coverage, it’s completely covered in thin-set mortar.
Schluter DITRA installation is a lot easier when you follow these tips.
If you’re remodeling a bathroom and need help, join our Platinum Membership
The step-by-step tutorials and Personal Coaching will make your project much easier.
Tap the button below to learn more